Deploy Your Own Token
This guide provides a step-by-step walkthrough on how to create and launch your own token using the ElectroSwap Launchpad. No coding skills are required! Follow these steps to deploy your token, set up liquidity, and potentially list it on ElectroSwap.
Step 1: Navigate to Launch Token
- First navigate to Launchpad Central by clicking on the "Launchpad" link in the navigation bar
- Click the "Launch Token" or navigate directly by clicking here
- Review the input fields described in more detail below
Step 2: Token Information
In this section, you'll define the basic details of your token.
- Token Name: Enter the full name of your token (e.g., "My Project Token"). It must be 25 characters or less.
- Token Symbol: Provide a short ticker symbol (e.g., "MPT"). It should be 2-6 uppercase letters or numbers.
- Token Supply: Specify the total supply of your token. This is a positive number that determines the total amount of tokens that will ever exist.
- Withheld Supply: Use the slider to set the percentage of the total supply you want to withhold (0-99%). The rest will be added to liquidity. Withholding more than 5% disqualifies your token from being listed on ElectroSwap.

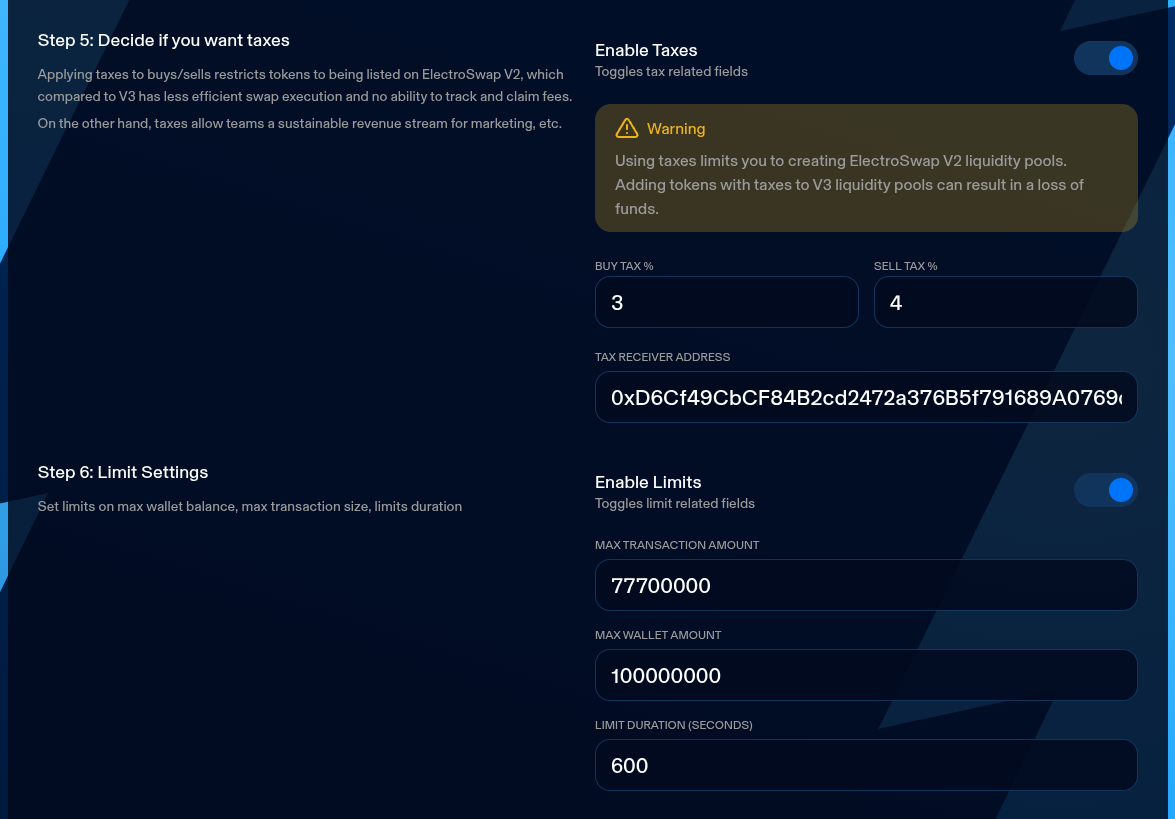
Step 3: Taxes & Limits
-
Enable Taxes (Toggle): If enabled, you can set buy and sell taxes (0-25%). You'll also need to provide a tax receiver address. Note: Enabling taxes limits your token to ElectroSwap V2 pools, which are less efficient than V3.
- Buy Tax %: Percentage tax on buys.
- Sell Tax %: Percentage tax on sells.
- Tax Receiver: Wallet address to receive the taxes.
-
Enable Limits (Toggle): If enabled, set limits to prevent large transactions or holdings initially.
- Max Transaction Amount: Maximum tokens per transaction.
- Max Wallet Amount: Maximum tokens per wallet.
- Limit Duration: Time in seconds these limits apply after launch.
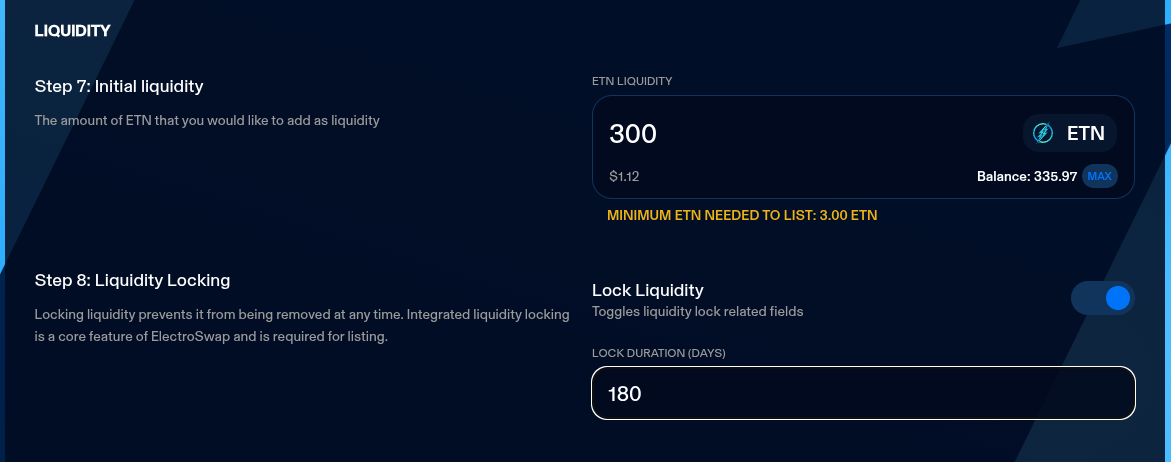
Step 4: Liquidity
Here, you'll configure the initial liquidity for your token.
-
ETN Liquidity: Enter the amount of ETN to add as liquidity. This pairs with the non-withheld token supply to create the initial pool. If you'd like your token to be visible on our default token list, the entered value must meet or exceed the minimum required to list (displayed below the input). Insufficient liquidity prevents listing on the default token list.
-
Lock Liquidity (Toggle): If enabled, lock the liquidity for a specified duration to build trust. Not locking disqualifies from listing.
- Lock Duration: Number of days to lock liquidity. Liquidity must be locked a minimum of 180 days to qualify for listing on ElectroSwap
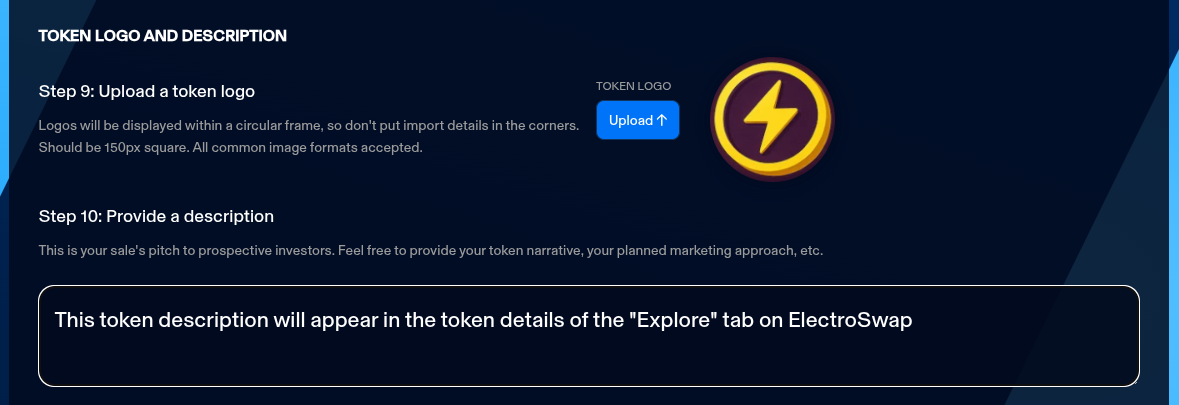
Step 5: Token Logo & Description
Add visual and descriptive elements to your token.
- Token Logo: Upload an image file (PNG, JPG, or WEBP, <2MB). It should be square (e.g., 150x150 pixels) as it will be displayed in a circle.
- Token Description: Write a description (10-500 characters) about your token, project, and plans.
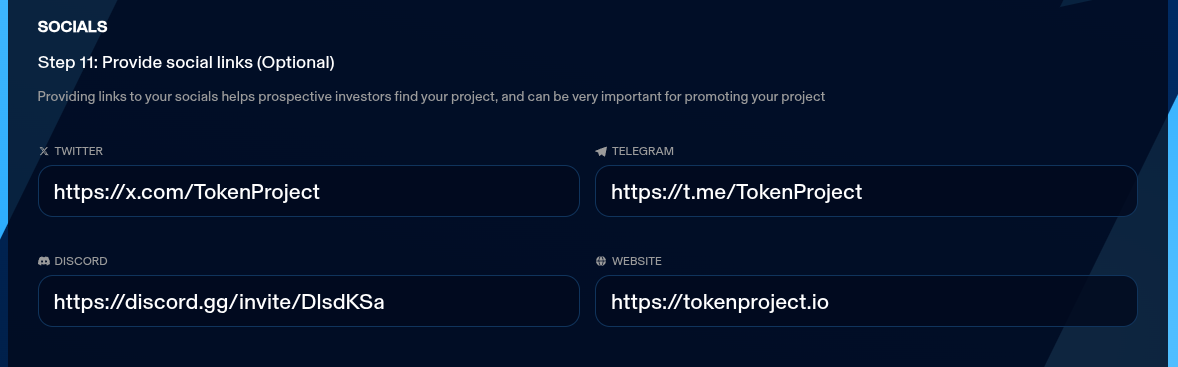
Step 6: Socials
Provide links to your project's social media for better visibility.
- Twitter: URL to your Twitter page.
- Telegram: URL to your Telegram group.
- Discord: URL to your Discord server.
- Website: URL to your project's website.
These are optional but recommended.
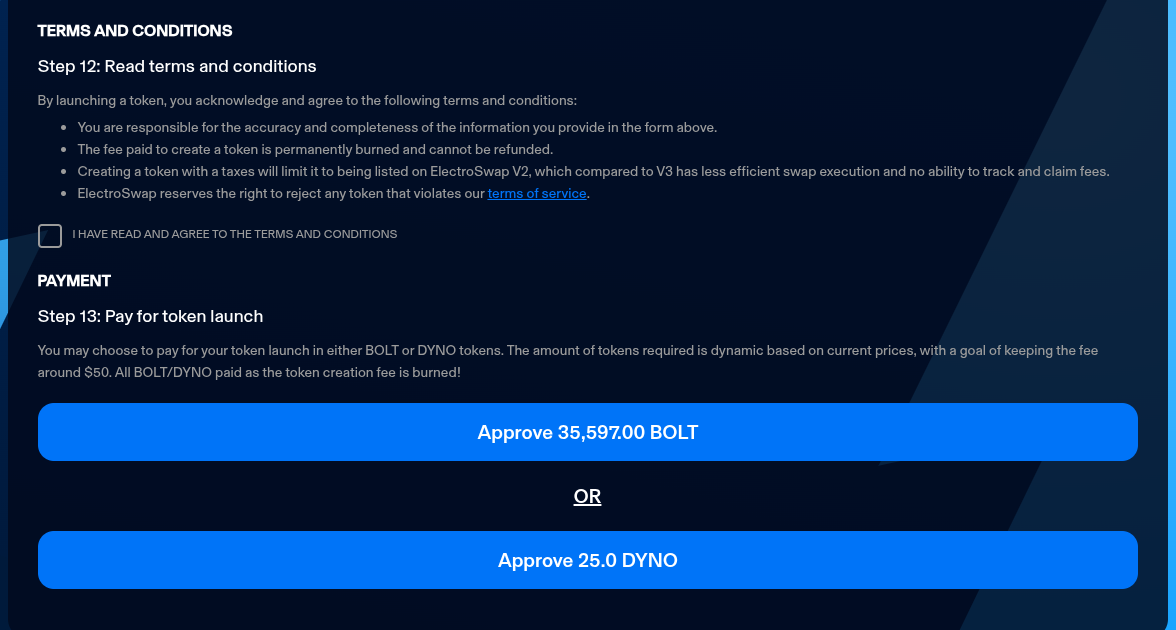
Step 7: Terms and Conditions & Payment
- Read the terms carefully. They include responsibilities, non-refundable fees, and platform rights.
- Check the box to agree to the terms and conditions.
- Finally, pay the launch fee using BOLT or DYNO tokens.
- Choose to pay with BOLT or DYNO. The fee is non-refundable (burned) and aims to be around $50 equivalent.
- If approval is needed, approve the token first.
- Then, confirm the payment to launch the token.
Upon successful launch, you'll be redirected to your token's page on ElectroSwap.
If you encounter any errors, ensure all fields are correctly filled and validated.